# Quickstart with MCP
import { LinkButton } from '@astrojs/starlight/components';
Use this quickstart to prove that Falconer MCP is connected and working from your AI client.
Falconer MCP gives Claude, Codex, Cursor, and other compatible clients access to Falconer through an HTTP endpoint.
## Claude
Falconer supports both Claude.ai and Claude Code: add Falconer to Claude.ai as a custom connector, or configure Falconer in Claude Code from the command line.
**Claude.ai**
Add to Claude.ai
This opens Claude with the Falconer connector name and MCP URL prefilled. Connect the connector, then sign in to Falconer when Claude asks for authorization.
**Claude Code**
Run this command in a terminal:
```bash
claude mcp add --transport http --scope user --client-id falconer-claude-code --callback-port 49152 "falconer" "https://falconer.com/api/mcp"
```
Then run `/mcp` in Claude Code and complete the browser sign-in flow.
## Cursor
Falconer supports both Cursor surfaces: add Falconer to the Cursor app for editor workflows, or configure Cursor Agent for agent sessions.
**Cursor app**
Add to Cursor app
This opens Cursor with Falconer's MCP configuration. Connect the Falconer server, then sign in to Falconer when Cursor asks for authorization.
For manual setup, create or update `.cursor/mcp.json` in your project:
```json
{
"mcpServers": {
"Falconer": {
"type": "http",
"url": "https://falconer.com/api/mcp"
}
}
}
```
Open Cursor MCP settings and complete the Falconer OAuth flow if prompted.
**Cursor Agent**
Open Cursor Agent
Add a new MCP server named `Falconer`, use `https://falconer.com/api/mcp` as the server URL, then click **Login** to start the Falconer OAuth flow.
## Codex CLI
Falconer supports Codex CLI through an OAuth-backed MCP connection configured from the terminal.
Run this command in a terminal:
```bash
codex mcp add falconer --url "https://falconer.com/api/mcp" --oauth-client-id falconer-codex-cli --oauth-resource "https://falconer.com/api/mcp"
```
## Verify the connection
Ask your client to make a simple Falconer MCP call:
```text
List my Falconer organizations.
```
Then try a search:
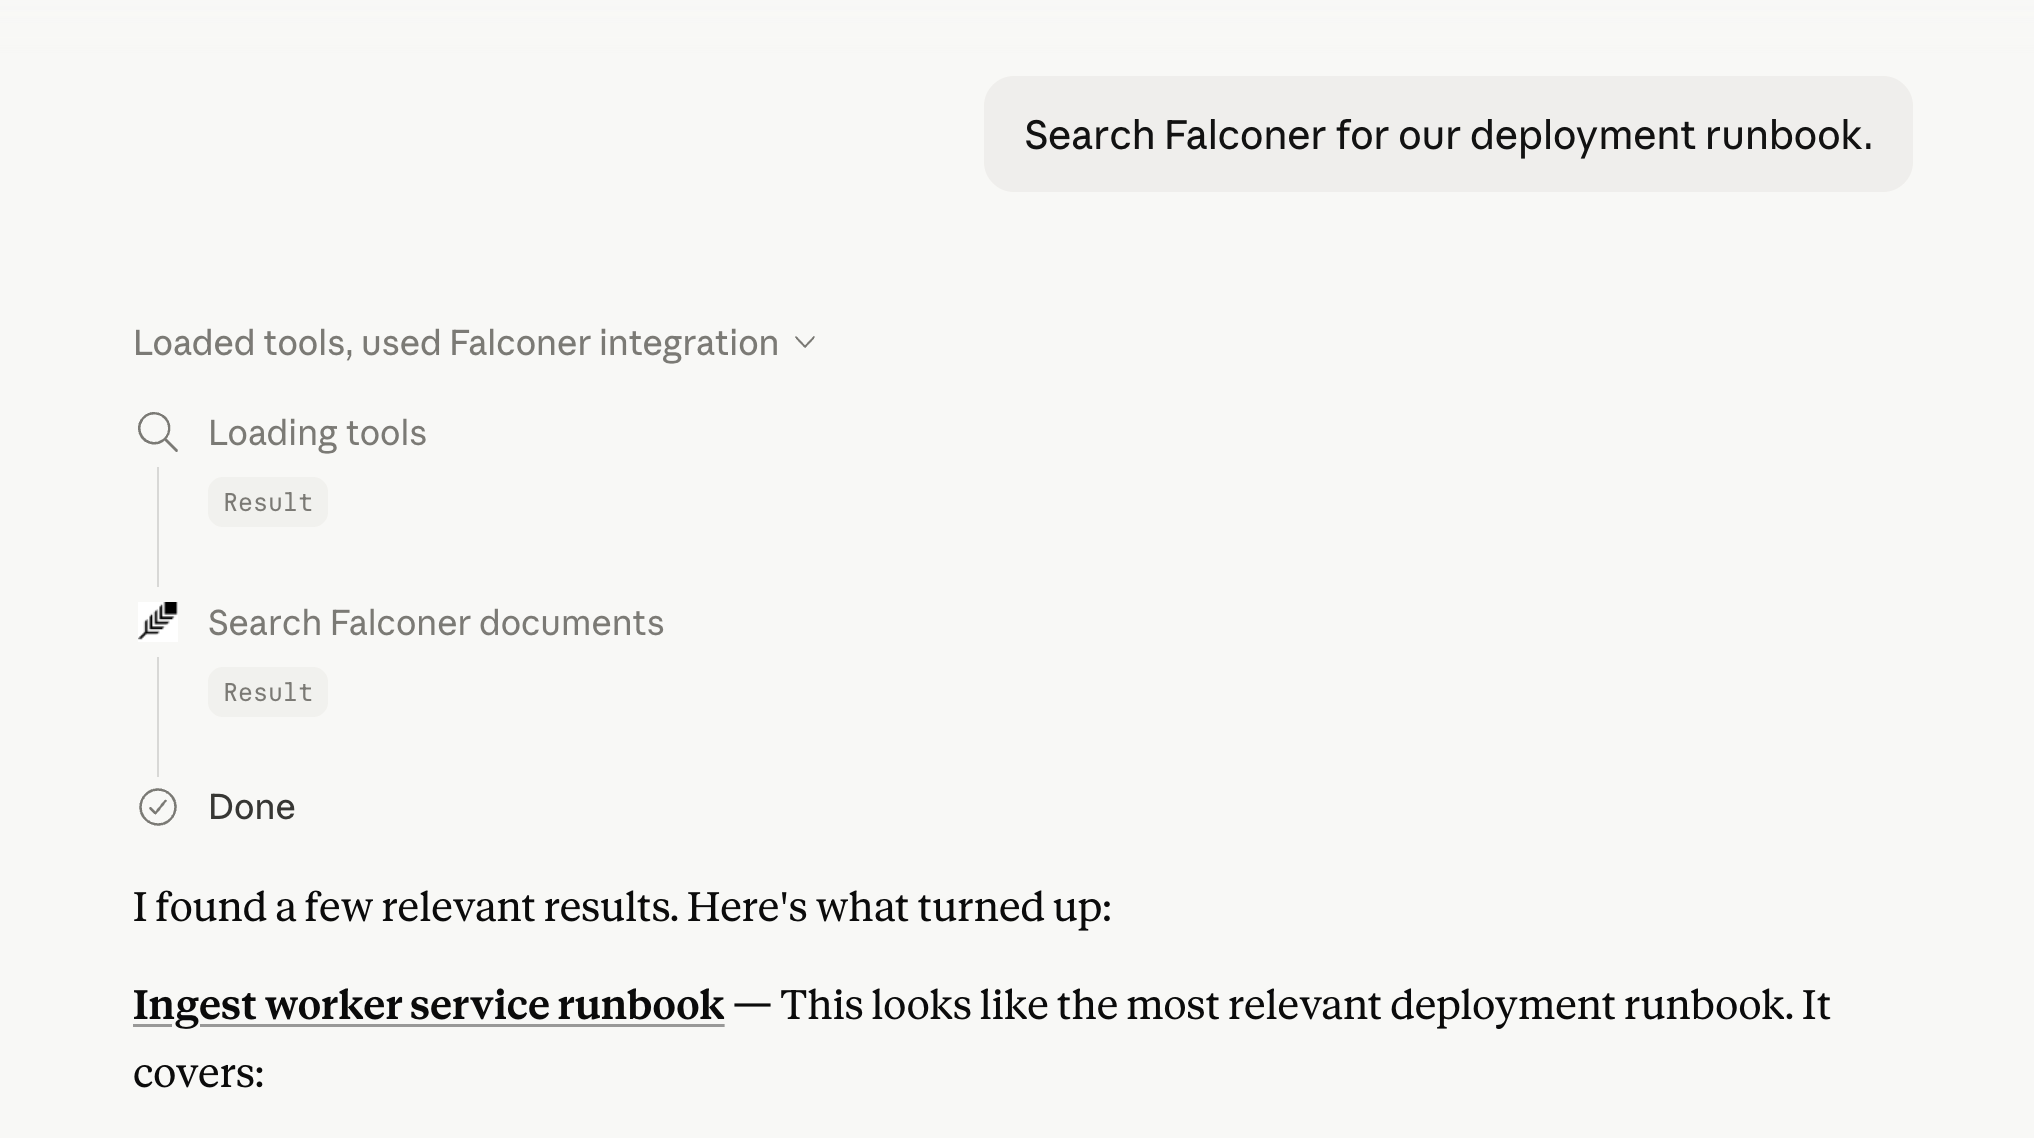
```text
Search Falconer for our deployment runbook.
```
Or read a specific Falconer document:
```text
Read this Falconer doc:
```
## Multiple organizations
If your account has access to one Falconer organization, your client can usually omit `organizationId`.
If your account has access to multiple organizations, first ask the client to list organizations. Then include the selected `organizationId` in future Falconer requests.